The Top Masonry Repair Tips
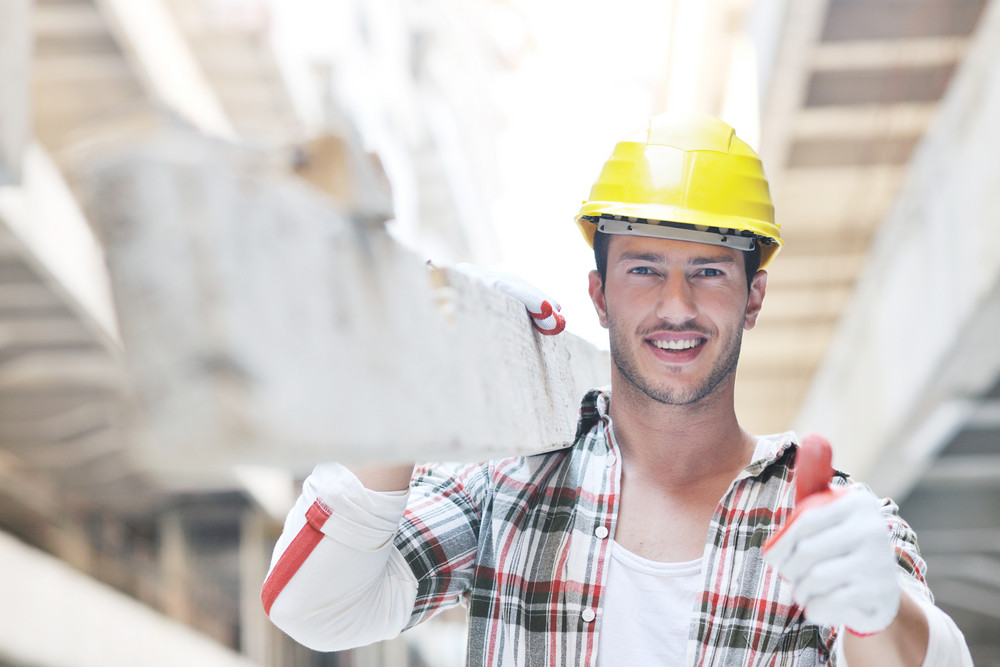
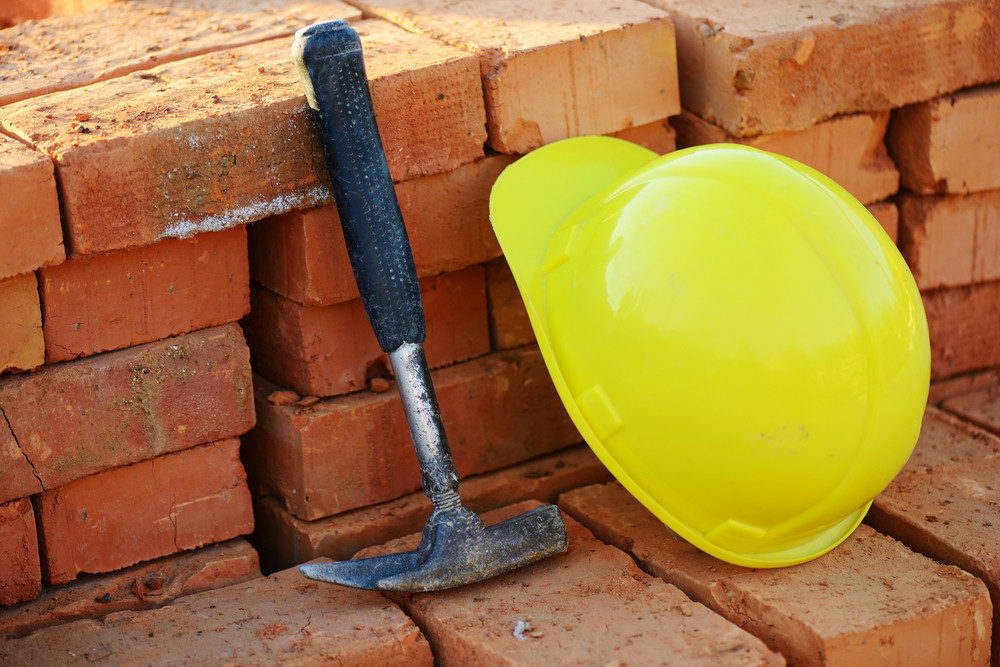
Masonry repair is a crucial aspect of maintaining the structural integrity and aesthetic appeal of buildings, particularly in regions like Dallas, TX, where brick constructions are prevalent. Here are some top masonry repair tips to ensure effective and long-lasting results:
- Square Cut Repair Area and Minimum Depth: When embarking on a masonry repair project, ensure that the repair area is square-cut with meticulously prepped surfaces. Aim for a minimum depth of at least half an inch to create an ideal condition for repairs.
- Saturated Surface Dry (SSD): Before applying any repair material, it’s essential to saturate the substrate to an SSD condition. This ensures that there’s enough moisture within the substrate without any pooling water, facilitating optimal bonding.
- Proper Mixing Consistency: Achieving the right consistency of the repair material is paramount. Aim for a texture resembling damp beach sand, avoiding extremes of being too dry or too wet. Golf ball-sized clumps indicate the ideal consistency for effective repairs.
- The Importance of Bond Coats: Apply a bond coat or slurry coat evenly across the repair area to create a bonding layer on the substrate. This step is crucial for ensuring strong adhesion between the repair material and the surface.
- Be Sure to Coat the Shoulders of the Repair: Uniformly apply the bond coat, ensuring that the shoulders of the repair area are adequately coated. This promotes proper bonding and enhances the structural integrity of the repair.
- Properly Applying Patch/Achieving Compaction: When applying the repair material, focus on achieving good compaction by pressing it firmly into place. Overbuilding the repair slightly allows for settling and ensures that it extends slightly beyond the original profile of the substrate.
- Pre-Screeding: After applying the repair material, pre-screed it to the desired level, ensuring that it extends slightly beyond the original profile of the substrate. This step helps in achieving a smooth and even surface for the final finish.
- A Review of Compaction: Thoroughly inspect the repair area for any low spots or areas needing additional material. Overbuild the repair to ensure that it is slightly higher than the surrounding surface, facilitating final shaping and finishing.
- Final Shave: Once the repair material has set to the proper consistency, perform a final shave to remove any excess material and achieve the desired finish. This step ensures a neat and professional-looking repair.
By following these top masonry repair tips, individuals can effectively address issues with brick constructions and ensure their durability and longevity. Whether it’s a minor repair or a major restoration project, attention to detail and adherence to best practices are key to successful masonry repair in Dallas, TX and beyond.