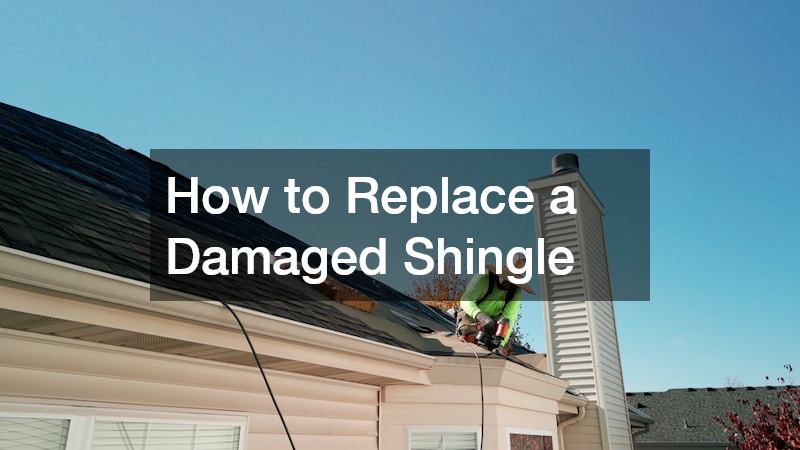
How to Replace a Damaged Shingle
Roof repair is an essential aspect of home maintenance, ensuring the longevity and durability of your house. A damaged shingle can lead to leaks and further damage if not addressed promptly. Understanding how to replace a damaged shingle can save you time and money in the long run.
Often, minor shingle damage can be repaired without calling a professional, empowering homeowners with manageable DIY solutions. Knowing when and how to fix a damaged shingle can protect your home from water damage and improve its aesthetic appeal. It is crucial for homeowners to learn the basics of roof repair, which can serve them well throughout the lifespan of their roof.
In this article, we’ll guide you through the step-by-step process of replacing a damaged shingle. This guide will help ensure that any roof repair you undertake is safe and effective. By following these steps, you’ll maintain the integrity of your roof and the protection it offers your home.
Identifying the Damage
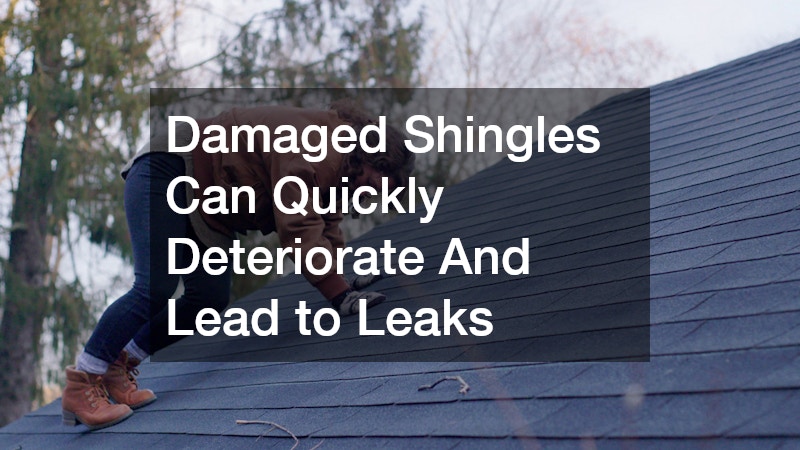
The first step in roof repair is identifying the damaged shingles. Start by visually inspecting your roof from a safe location, such as a ladder or through binoculars. Look for shingles that are cracked, curled, missing, or have visible granule loss.
It’s important to address these issues promptly, as damaged shingles can quickly deteriorate and lead to leaks. Keep an eye out for areas of the roof that are directly affected by weather events, as these are more prone to damage. Identifying the problem early can prevent more extensive roof repair down the line.
Once you’ve identified the damaged shingles, take note of their location and assess the extent of the damage. If a significant portion of the roof is affected, it might be wise to consult with a roofing professional. However, for a few damaged shingles, you can efficiently handle the repairs yourself.
Gathering the Necessary Tools and Materials
Before beginning any repair, ensure you have all the necessary tools and materials at hand. Common tools for shingle replacement include a hammer, roofing nails, a pry bar, a utility knife, and a ladder. Also, you’ll need replacement shingles that match the existing ones in color and style.
Safety should always be a priority when conducting roof repair, so consider using safety gear such as gloves, goggles, and non-slip footwear. Having the right tools and safety gear ensures that your repair process is both efficient and safe. Additionally, consider any other equipment you might need depending on your roof’s slant and height.
Preparing the necessary materials ahead of time allows for a smoother repair process. Ensuring the replacement shingles are on hand and all tools are easily accessible can save time and reduce frustration. Proper preparation sets a strong foundation for a successful repair project.
Removing the Damaged Shingle
To remove the damaged shingle, carefully use a pry bar to lift the adjacent shingles, which will give you access to the nails securing the damaged shingle. Be gentle to avoid breaking adjacent shingles or causing additional damage. Carefully slide the pry bar under the edges of the damaged shingle and gently lift it.
With the pry bar, remove the nails from the damaged shingle, allowing it to be removed cleanly. Be sure to pull out or hammer down any protruding nails that remain in the roof decking. Taking time and caution during this process will prevent further complications and ensure the area is ready for the new shingle.
Once the damaged shingle is removed, examine the underlying structure for any additional damage. This is a good opportunity to perform a preventive assessment in case other areas need attention. This step sets the groundwork for securely installing the replacement shingle.
Installing the Replacement Shingle
Begin the installation by carefully positioning the replacement shingle in place of the old one. Align it with adjacent shingles to maintain the roof’s uniform appearance and structural integrity. Ensure that the edges of the shingle are aligned perfectly to prevent water infiltration.
Nail down the replacement shingle with roofing nails, being careful not to apply excessive force that could crack the shingle. Typically, four nails per shingle will suffice to hold it securely in place. Properly securing the shingle prevents it from becoming loose during adverse weather conditions.
Reattach the previously lifted shingles over the replacement, pressing them down to adhere firmly. Check for any raised edges that might suggest an improper fit. Once everything looks smooth and aligned, your roof repair is nearly complete, restoring the shield your home needs.
Additional Maintenance Tips
Successfully replacing a damaged shingle not only fixes an immediate problem but also extends the life of your roof. Regular roof inspections and maintenance can catch damages early and minimize the need for extensive repairs. This proactive approach can save you significant costs over time.
Keep an eye on the replaced shingle to ensure it holds up well against the elements. It’s advisable to periodically check for any loose shingles or new damage, especially after extreme weather. Addressing issues as soon as they arise can prevent them from developing into costly and complicated repairs.
Investing time in understanding basic roof repair empowers homeowners to maintain their roofs effectively. This, in turn, ensures the continued safety and comfort of the home. With the knowledge and skills to replace damaged shingles, you can confidently handle minor roof repairs and protect your investment for years to come.